
Before You Buy: A Condition Check for Secondhand Clothing
Use this checklist to assess fabric wear, seams, stains, zippers, and fit before committing to any secondhand clothing purchase.
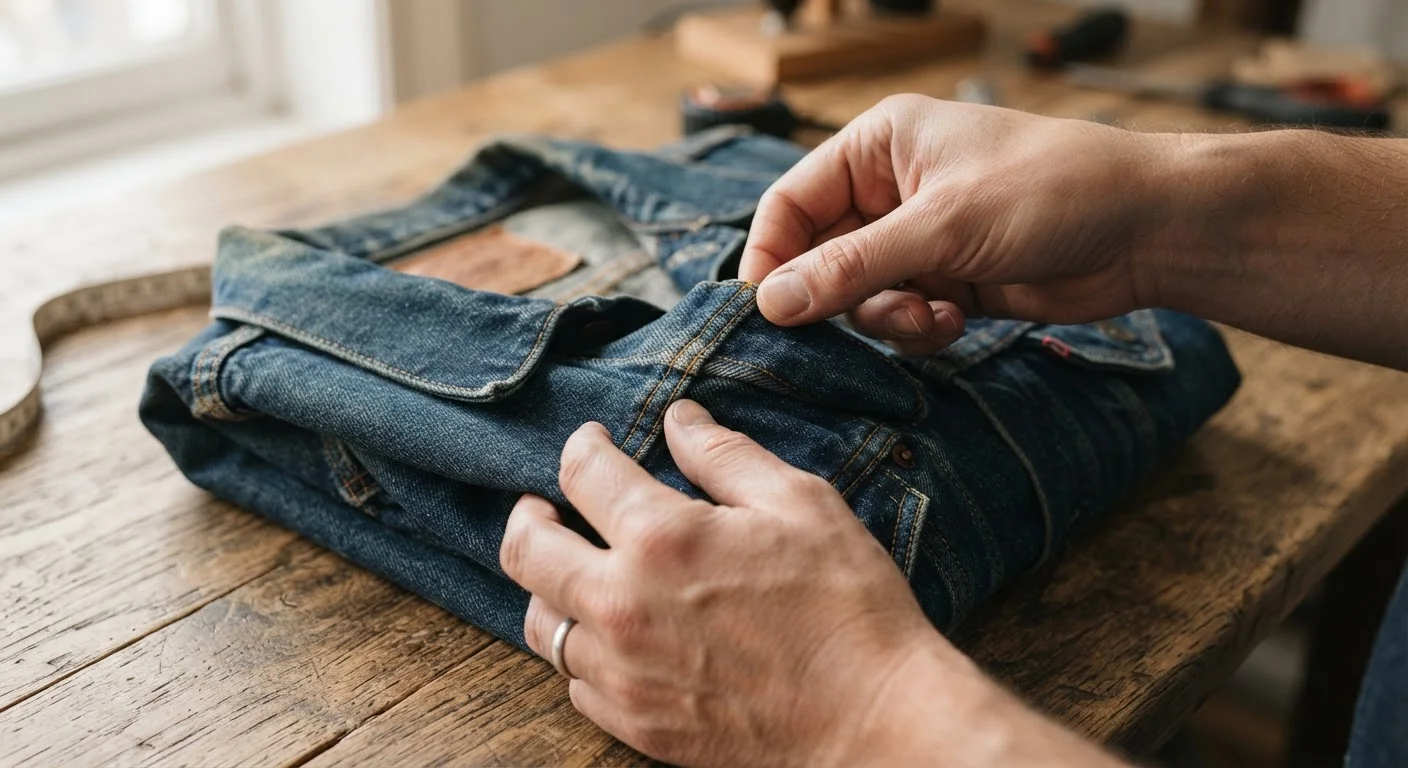
Photo: SaverSteals.com | Explore More. Shop Smarter. editorial
—— In This Article
Key Takeaways
- Fabric wear, pilling, and thinning are the hardest defects to fix — always check these first.
- Stains and odours may not be apparent in listing photos; ask sellers for additional images or details.
- Zippers, buttons, and snaps are inexpensive to replace, but factor repair cost into your offer.
- Measurements matter more than size labels, which vary significantly across brands and eras.
- Hidden costs like dry-cleaning can erode secondhand savings if you overlook condition red flags.
Why a Condition Check Is Non-Negotiable
Secondhand clothing offers real savings, but only when the item is actually wearable. A garment priced at a fraction of retail quickly loses its appeal if it needs a dry-clean, a tailor visit, or turns out to be unwearable after one wash. The goal of this checklist is simple: give you a repeatable process so you spend money on clothes you'll actually use.
This checklist applies whether you're standing in a thrift store aisle or scrolling through a resale app listing. For online purchases, you'll need to rely on seller photos and descriptions — interpreting those listings carefully is its own skill worth developing. For in-person shopping, you have a clear advantage: you can touch, stretch, smell, and hold the item up to light.
Before you start, understand that not every flaw is a dealbreaker. Minor issues like a missing button or a loose hem are usually fixable for a few dollars. Structural fabric damage, set-in stains, or persistent odour, however, are harder — and sometimes impossible — to remedy. The checklist below helps you distinguish between the two.
Fabric & Material Condition
Stains & Discolouration
Seams, Stitching & Structure
Closures & Hardware
Fit & Measurements
What to Bring and How to Use This Checklist
You don't need specialized equipment to assess secondhand clothing, but a few simple tools make the process faster and more reliable.
Tape measure
Take accurate garment measurements to compare against your own body measurements before committing to a purchase.
Pocket flashlight or phone torch
Illuminate fabric weave and seam areas in dimly lit thrift stores to spot thinning and stitching issues.
White lint roller or lint tape
Press against the fabric to reveal hidden lint, pet hair, or loose fibres that may signal poor storage conditions.
Small magnifying glass
Examine fine stitching, weave integrity, and stain texture up close, particularly useful for delicate fabrics.
Work through the checklist systematically — fabric first, then hardware and closures, then fit. If you're shopping in person, find good lighting (ideally near a window or bright store light) before inspecting. For online purchases, request photos taken in natural daylight if the listing images look dark or filtered.
Size Labels Are Unreliable in Secondhand Markets
Vintage and older garments often use sizing conventions that differ significantly from modern standards, and labels can also be cut out or replaced. Always measure the actual garment rather than trusting the printed size. A tape measure takes less than two minutes and is the single most reliable way to avoid a poor fit.
Some Defects Only Appear After Washing
Shrinkage, dye bleeding, and hidden elasticity loss may not be visible at point of purchase. Check the care label carefully and, where possible, ask the seller about the garment's wash history. For items without a care label, assume the most conservative cleaning method to avoid damage.
Keep in mind that secondhand clothing often carries hidden costs beyond the sticker price. Shipping, platform fees, and cleaning can add up quickly, so factor those into your overall assessment of whether a piece is worth the price. For a broader framework covering sourcing, cleaning, and building a wardrobe from resale finds, see the complete secondhand clothing handbook.

Clothing Editorial Team
Clothing Editorial Team is the collective byline for our editorial team and contributor network. Articles published under this byline or an editorial pen name are researched, written, and reviewed according to our editorial standards for clarity, consistency, and independence before publication.
View author profile