
Moving Into a Rental: A Room-by-Room Walkthrough Checklist
Document your apartment's condition before unpacking a single box. Use this checklist to protect your deposit from day one.
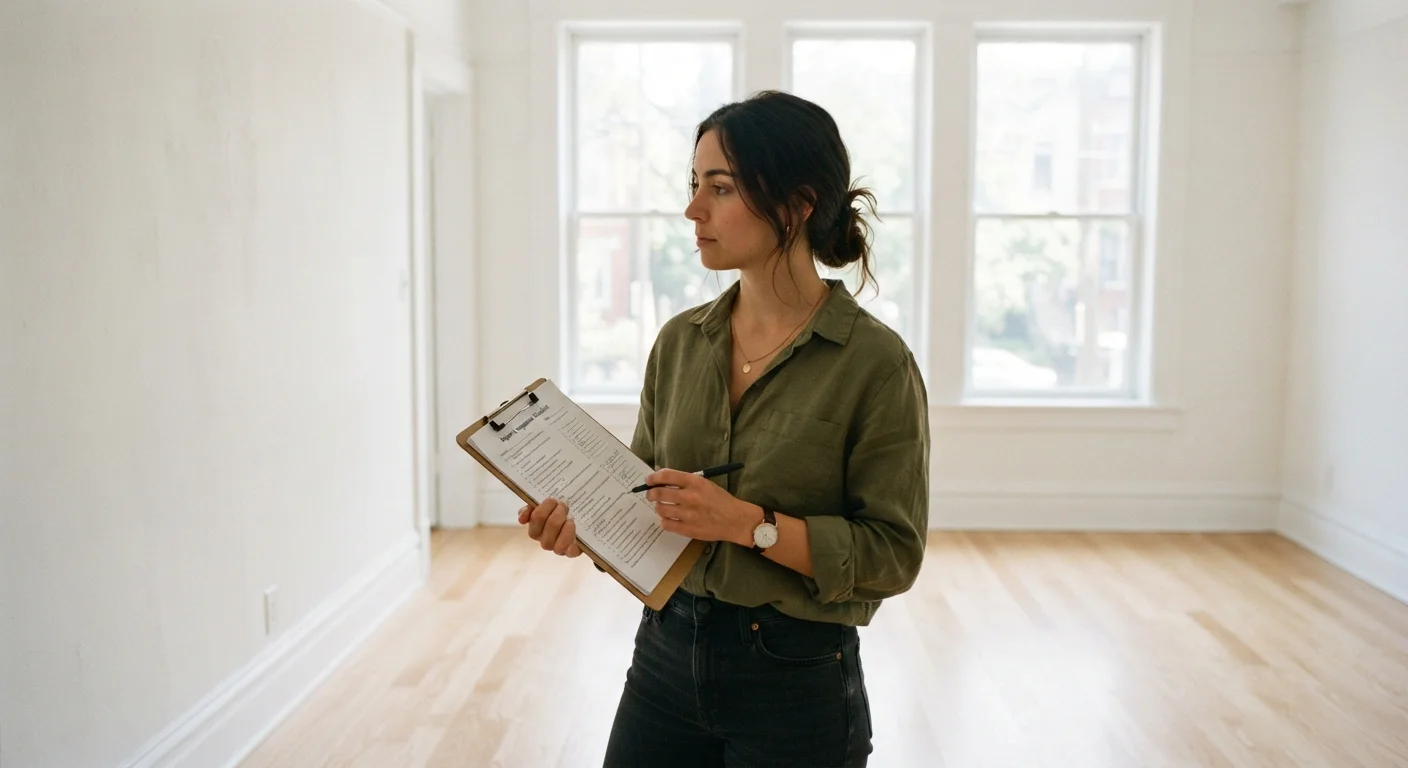
Photo: SaverSteals.com editorial
—— In This Article
Key Takeaways
- Complete your walkthrough before moving any belongings into the unit.
- Photograph and timestamp every issue you find — written notes alone may not be enough.
- Submit your move-in inspection report to your landlord in writing within the deadline specified in your lease.
- Pre-existing damage documented on day one cannot typically be charged against your deposit at move-out.
- Test every fixture, outlet, and appliance during the walkthrough — not weeks later.
Why This Walkthrough Matters Before You Unpack
Your security deposit is a financial buffer your landlord holds — legally, in most US states — to cover damage you cause beyond normal wear and tear. The problem is that damage found at move-out is assumed to be yours unless you can prove it was already there. That proof begins on move-in day, before a single box touches the floor.
A thorough room-by-room walkthrough, supported by dated photographs and a written report submitted to your landlord, creates a baseline record that protects you throughout your tenancy. Skipping this step — or rushing through it — is one of the most common reasons renters lose deposits they were entitled to keep. For a deeper look at how those disputes play out, see why renters lose their security deposits.
If you are brand new to renting, our complete guide to renting your first apartment explains how leases, deposits, and landlord responsibilities work from the ground up.
Do the Walkthrough Before Moving Anything In
Once furniture and boxes are in the unit, it becomes far harder to photograph walls, floors, and corners accurately. Complete your full inspection and submit your written report to your landlord before you begin unloading. Many leases specify a short window — sometimes as few as 24 hours — to submit move-in documentation, so treat this as your first priority on move-in day.
What to Bring and How to Organize Your Walkthrough
Being prepared before you step inside makes the inspection faster and more thorough. Walk each room in a consistent pattern — for example, starting at the door and moving clockwise — so nothing is missed. Take photos of every wall, ceiling, floor, fixture, and appliance. Use your smartphone's timestamp feature or a dedicated app so the date is embedded in the metadata.
Once your inspection is complete, fill out a written move-in condition report (many states require landlords to provide one; if yours does not, create your own). Email it to your landlord and keep a copy for your records. Most leases specify a window — commonly 24 to 72 hours — within which you must submit this report.
Smartphone with camera
Capture timestamped photographs of every room, surface, and fixture as evidence of pre-existing conditions.
Move-in condition report form
Written document to record damage notes room by room; required for submission to your landlord.
Plug-in outlet tester
Quickly verify that all electrical outlets are properly wired and functional.
Flashlight or phone torch
Illuminate dark corners, under-sink cabinets, and closet interiors where damage is easily missed.
Cloud storage account
Back up all move-in photos immediately so they are preserved with original metadata intact.
Room-by-Room Inspection Checklist
Work through every room and shared space in the unit. Flag any existing damage, staining, odors, or non-functioning equipment in writing and in photos. Do not assume a landlord is already aware of an issue — document it yourself regardless.
Entry & Hallways
Living Room & Bedrooms
Kitchen
Bathroom(s)
Shared Systems & Safety
Verbal Assurances Are Not Enough
If a landlord or property manager tells you verbally that a known issue — a scuff, a stain, a broken fixture — 'won't count against you,' get it in writing. Verbal agreements are extremely difficult to prove in a deposit dispute. Any acknowledged damage should appear on the signed move-in condition report, not just in a conversation.
If you are moving in with a pet, your walkthrough should also account for pet-specific lease terms. Our guide on renting with pets covers deposit clauses, breed restrictions, and what to confirm with your landlord before move-in day.
After the Walkthrough: Next Steps
Once your checklist is complete, take three actions immediately. First, send your completed move-in report to your landlord via email so there is a timestamped record of delivery. Second, back up all photographs to cloud storage so they cannot be accidentally deleted. Third, keep a copy of everything — the report, photos, and your lease — in a folder you can access easily throughout your tenancy.
Revisit your checklist periodically. If you notice new maintenance issues during your tenancy, report them in writing promptly; delayed reporting can sometimes be used to argue tenant negligence. When move-out day arrives, this same room-by-room approach applies in reverse — a room-by-room decluttering method can help you clear and clean systematically before handing back the keys.
This article is for general informational purposes only and does not constitute legal advice. Tenant rights, deposit rules, and inspection requirements vary by state and locality. Consult a qualified attorney or local tenant advocacy organization for guidance specific to your situation.

Real Estate Editorial Team
Real Estate Editorial Team is the collective byline for our editorial team and contributor network. Articles published under this byline or an editorial pen name are researched, written, and reviewed according to our editorial standards for clarity, consistency, and independence before publication.
View author profile