
Composting at Home: Cutting Your Soil Amendment Spend Over Time
Bought compost and bagged soil add up fast. Learn how home composting works, what it costs to set up, and what you can realistically save.
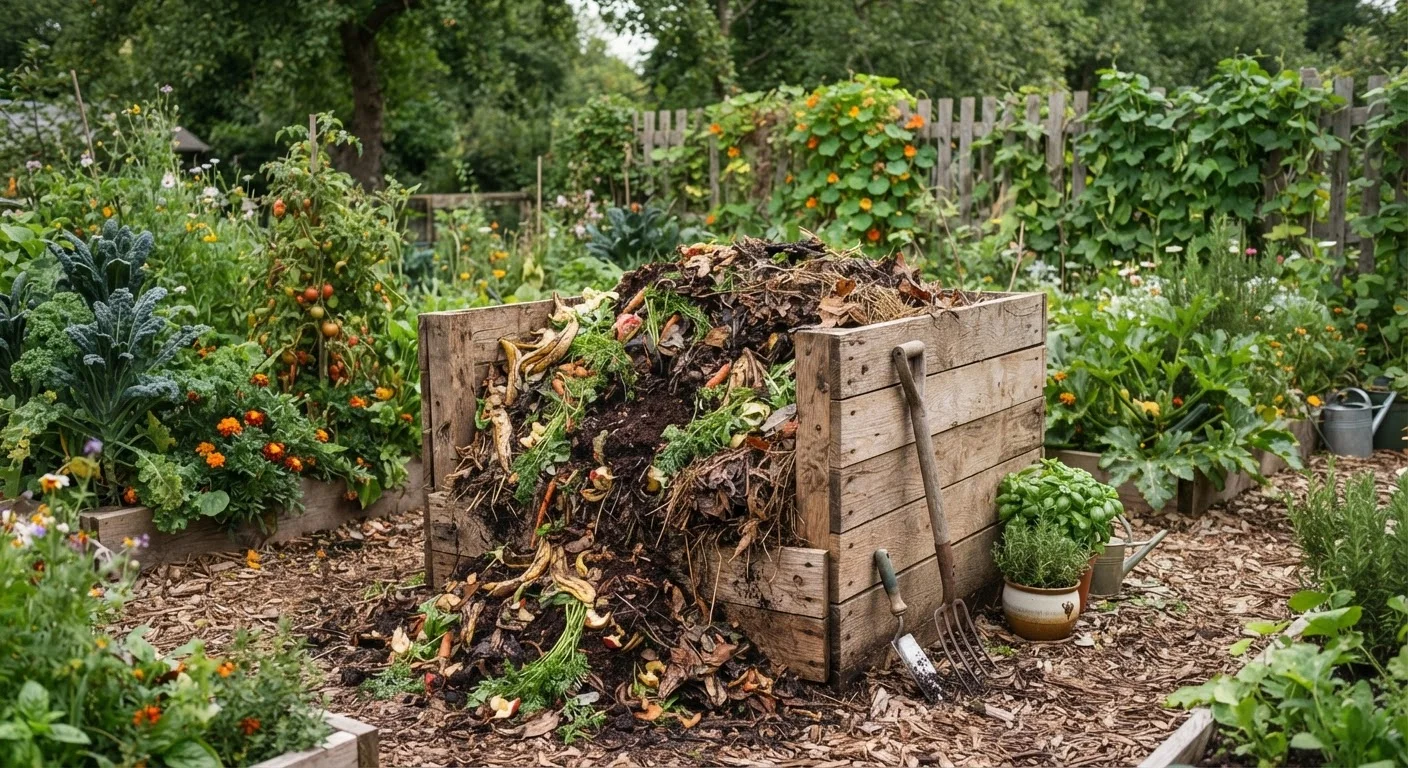
Photo: SaverSteals.com | Explore More. Shop Smarter. editorial
—— In This Article
Key Takeaways
- A basic compost setup can be built for under $50 using materials you may already own.
- Finished compost typically takes 2–6 months depending on your method and climate.
- Home composting reduces ongoing spending on bagged amendments, fertilizers, and soil conditioners.
- Balancing carbon-rich 'browns' and nitrogen-rich 'greens' is the key to efficient decomposition.
- Most kitchen and yard waste qualifies as compostable, dramatically reducing what you send to landfill.
Why Your Soil Amendment Bills Keep Growing
Bagged compost, potting soil, and slow-release fertilizer are among the most quietly expensive recurring costs in a home garden. Prices vary significantly by region and season, but gardeners who buy amendments annually — especially for raised beds — can easily spend well over $100 per growing season without a large plot. As noted in common overspending patterns for gardeners, over-amending soil is one of the easiest budget leaks to overlook because it feels productive.
Home composting directly attacks this recurring expense by converting material you already generate — kitchen scraps, yard waste, cardboard — into a usable soil conditioner. The upfront effort is modest, and once the system is running, it largely maintains itself. This guide walks you through setting up a working compost system and understanding the realistic timeline to your first usable batch.
What you will need
If you're building a garden from the ground up and looking for broader cost-cutting strategies, see growing a garden on a tight budget for a wider view of where first-time gardeners tend to overspend.
Setting Up Your System and What to Expect
The steps above cover the mechanics, but it helps to set realistic expectations before you start. Composting is not a fast process, and the first usable batch typically takes 2–6 months. That means if you start a pile in early spring, you may have finished compost ready by midsummer or fall — useful for a second planting or for conditioning beds ahead of winter.
Compost bin or container
Contains the pile, retains heat, and discourages pests — can be a purchased bin, a DIY wooden frame, or a simple wire hoop.
Pitchfork or compost aerator
Turns and aerates the pile to speed decomposition and prevent odor buildup.
Kitchen compost pail with lid
Collects scraps on your countertop so you're not making daily trips to the outdoor bin.
Garden thermometer
Measures the internal pile temperature to confirm active decomposition (ideally 130–160°F).
Your ongoing input costs after setup are essentially zero: the feedstock is waste you already produce. The main investment is time — roughly 15 minutes per week for turning and monitoring. Compare that to the cost and inconvenience of hauling bags of amendment from a garden center each season. For gardeners who have considered buying compost in bulk, home production sidesteps the storage and spoilage risks that often erode bulk savings.
Composting also fits naturally into a broader waste-reduction habit. Better garden planning and composting work together: trimmings, failed seedlings, and spent plants that would otherwise be trash become next season's soil conditioner. For a complete picture of reducing costs across every aspect of gardening, the full garden savings guide covers soil, tools, watering, and plant sourcing in one place.
Choose your composting method and container
Three approaches suit most home gardeners. A open pile costs nothing but needs space. A wire or wooden bin costs $10–$40 in materials and suits most yards. A tumbler-style bin speeds decomposition and keeps pests out but is the priciest option upfront. If you have limited space, even a lidded plastic storage tote with drilled ventilation holes works well on a patio.
Match the method to your space and the volume of waste your household generates. A family of four typically produces enough kitchen scraps to keep a standard 3×3-foot pile active year-round.
Layer your 'browns' and 'greens' correctly
Browns are carbon-rich materials: dried leaves, cardboard torn into small pieces, straw, paper bags, and woody prunings. Greens are nitrogen-rich: fruit and vegetable scraps, coffee grounds, fresh grass clippings, and plant trimmings. A rough ratio of 2–3 parts browns to 1 part greens by volume keeps the pile from becoming slimy or smelly.
Start with a 4–6 inch layer of browns at the base to aid drainage, then alternate layers as you add material. If your pile ever smells like ammonia, add more browns. If it stalls and looks dry, add more greens and a splash of water.
Maintain moisture and aeration
Your pile should feel like a wrung-out sponge — damp but not dripping. In dry climates or during summer, you may need to water the pile lightly once a week. In wet seasons, cover the top with a tarp or a bin lid to prevent waterlogging.
Turn the pile every 1–2 weeks using a pitchfork to introduce oxygen. Active turning can reduce your composting timeline from 6 months down to 6–8 weeks. If you prefer a hands-off approach, you can simply leave the pile and harvest finished compost from the bottom after 4–6 months.
Recognize when compost is finished
Finished compost is dark brown, crumbly, and smells like rich earth — not like rotting food. You should no longer be able to identify the original ingredients. If recognizable scraps remain, give the pile another 2–4 weeks and turn it once more before harvesting.
Screen finished compost through a half-inch wire mesh to separate any remaining chunky material, which you can toss back into the next pile. The fine, sifted material is ready to use immediately.
Apply compost to your garden and track your savings
Work 1–3 inches of finished compost into planting beds each season, or use it as a top dressing around established plants. A typical 3×3-foot active pile can produce roughly one cubic yard of compost per year, which is equivalent to about 27 bags of soil amendment at typical retail volumes.
Keep a simple note of what you would have spent on bagged compost, fertilizer, or potting mix before you started home composting. Many gardeners find their amendment spending drops substantially within the first full growing season — though results vary depending on garden size and soil needs.

Home & Garden Editorial Team
Home & Garden Editorial Team is the collective byline for our editorial team and contributor network. Articles published under this byline or an editorial pen name are researched, written, and reviewed according to our editorial standards for clarity, consistency, and independence before publication.
View author profile