

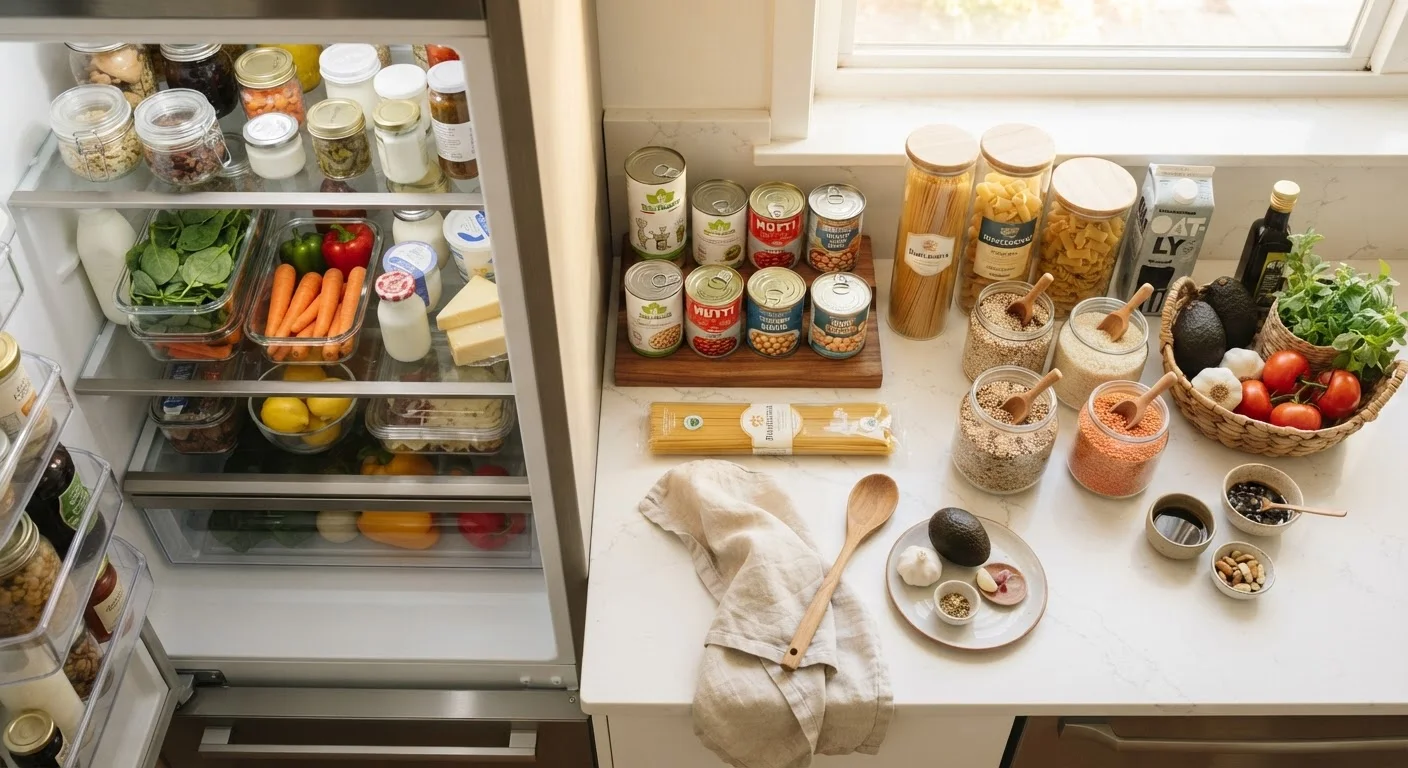
Key Takeaways
Why Your Kitchen Is Your Real Grocery Store
Here's a truth that will change the way you shop forever: the average American household wastes roughly $1,500 worth of food every single year. That's a weekend trip, a new wardrobe refresh, or three months of a streaming subscription - all silently rotting in the back of your crisper drawer. And the culprit almost every time isn't bad intentions. It's the habit of shopping before looking.
Most of us write our grocery lists in a vacuum - scrolling through recipes on our phones, jotting down ingredients, and heading to the store without ever opening the pantry door first. The result? We buy a third jar of cumin, miss the chicken thighs already frozen solid in the back of the freezer, and wonder why the budget keeps slipping.
Unplanned grocery trips inflate your food budget in ways that are hard to see in the moment. Grocery stores are masterfully designed environments - end caps, sale signs, and strategic product placement are all engineered to separate you from your money. Your best defense is walking in with a precise, needs-based list. And the only way to build that list is to start inside your own home.
This guide walks you through a complete kitchen audit and meal-planning framework that transforms what you already own into a full week of meals - before you spend a single dollar at the store.
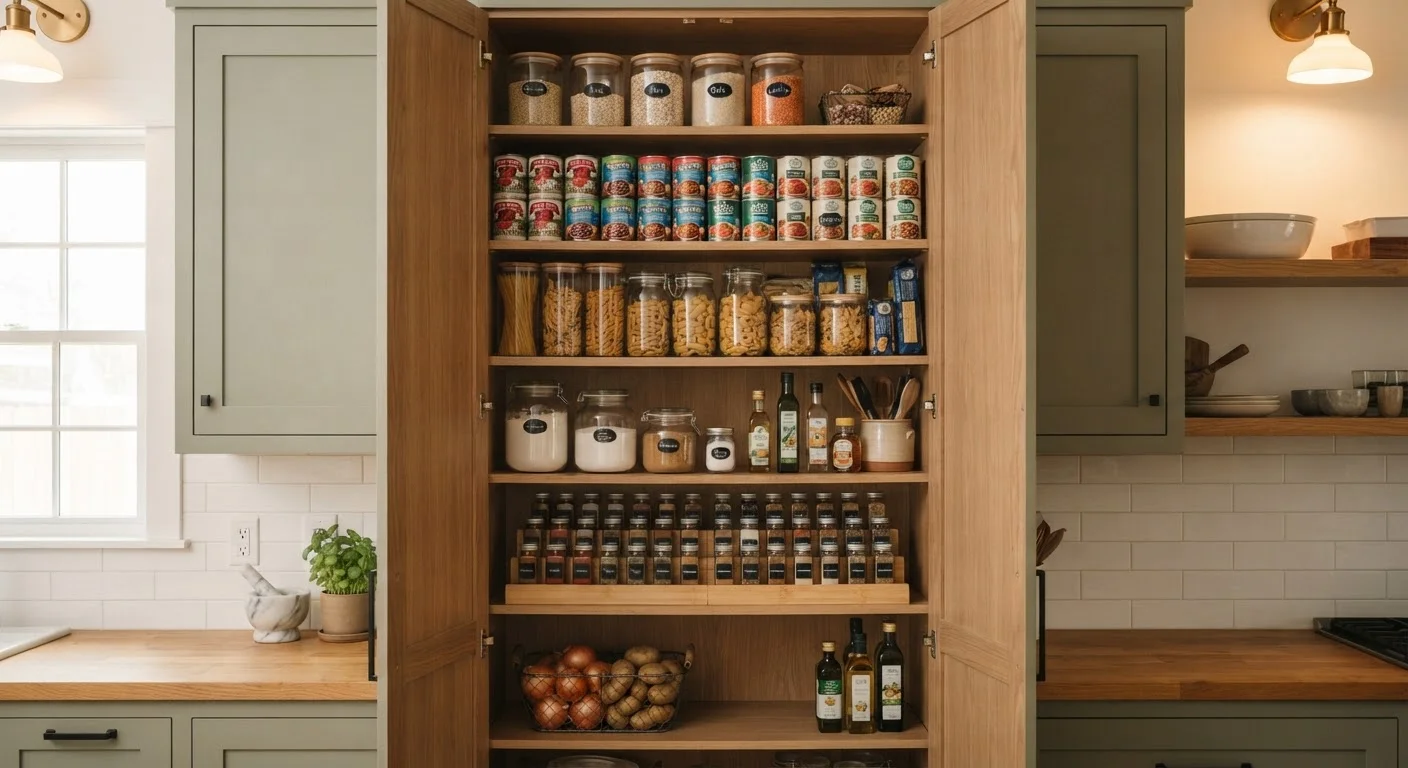
Think of it as a treasure hunt with a guaranteed payout. Ready? Let's dig in.
What You'll Need Before You Start
This process doesn't require fancy apps or elaborate systems - just a few basics and about 30 focused minutes. Here's what to have on hand:
What you will need
Notepad or Digital Notes App
Record your running inventory of pantry, fridge, and freezer items as you audit each zone.
Sticky Notes or Whiteboard
Label shelves or create a quick visual expiry-priority system so you know which items to use first.
Weekly Meal Plan Template (paper or digital)
A simple 7-day grid where you can slot in breakfast, lunch, and dinner as you plan around your inventory.
Permanent Marker
Label freezer bags and containers with contents and date so nothing becomes an unidentifiable mystery.
Grocery List App (e.g., AnyList, OurGroceries)
Build your final shopping list digitally so it's easy to share, sort by store section, and update in real time.
If your kitchen storage situation feels chaotic and you're not sure what tools would help you stay organized long-term, our guide on stocking a functional kitchen without overspending is a great companion read after you've completed this audit.
The Step-by-Step Kitchen Audit and Meal Planning Process
Follow these steps in order. Skipping ahead - especially to the grocery list phase - defeats the purpose of the whole exercise. Trust the process, and you'll be genuinely surprised by what you find.
Clear the Decks: Do a Full Fridge Purge First
Pull everything out of your refrigerator - yes, everything - and set it on the counter. Toss anything that is visibly spoiled, has an undeniable odor, or has been sitting in an unlabeled container for more than four days. Be decisive but not reckless; when in doubt about packaged items, check the date.
Once you've cleared out the obvious losses, group what remains into categories: proteins (meat, eggs, cheese, tofu), produce (vegetables and fruit), condiments and sauces, and leftovers or prepped items. Write each category down with a quick count or rough quantity next to each item.
Produce and opened proteins have the shortest shelf life - these items drive your first two or three days of your meal plan. Circle or star them on your list to signal urgency.
Excavate the Freezer and Document Everything
The freezer is where most households are secretly rich without knowing it. Pull out everything you can reach and lay it on the counter or a nearby table. You are almost certainly about to discover proteins, vegetables, and maybe even full prepared meals you completely forgot existed.
Document each item with quantity and - crucially - an approximate freeze date if you know it. Organize your list into: proteins (chicken, ground beef, fish, etc.), vegetables (frozen peas, corn, edamame), prepared or semi-prepared items (frozen burritos, soups, leftover chili), and bread or baked goods.
Items without labels get used this week - don't let them sit another month. Any item you're confident has been frozen for more than three months should be moved to the top of your priority list.
Audit the Pantry Zone by Zone
Now tackle your dry goods and pantry storage. Work shelf by shelf - this is where people tend to rush, and rushing means missed items. Pull cans, jars, and boxes forward and group them visually as you go.
Create inventory categories: grains and starches (rice, pasta, oats, quinoa, bread crumbs), canned goods (beans, tomatoes, broth, tuna, coconut milk), cooking oils and vinegars, spices and seasonings, baking supplies, and snacks or extras.
Note any duplicates - three cans of black beans means beans are a free ingredient this week. Also flag anything within two months of expiry; those items get prioritized in your meal plan even if they're pantry staples.
Build Your Ingredient Master List and Flag Priorities
You now have three lists - fridge, freezer, and pantry. Combine them into one master ingredient list. Then apply a simple priority system:
- Priority 1 (use in 1-2 days): Fresh proteins, cut produce, opened dairy, leftovers
- Priority 2 (use within 3-5 days): Whole produce, recently opened packaged goods
- Priority 3 (flexible timing): Pantry staples, frozen items with confirmed recent freeze dates
This priority map becomes the backbone of your weekly meal schedule. Your most time-sensitive ingredients drive Monday and Tuesday's meals. More stable items anchor the back half of the week.
Draft Your Meal Plan Around What You Already Have
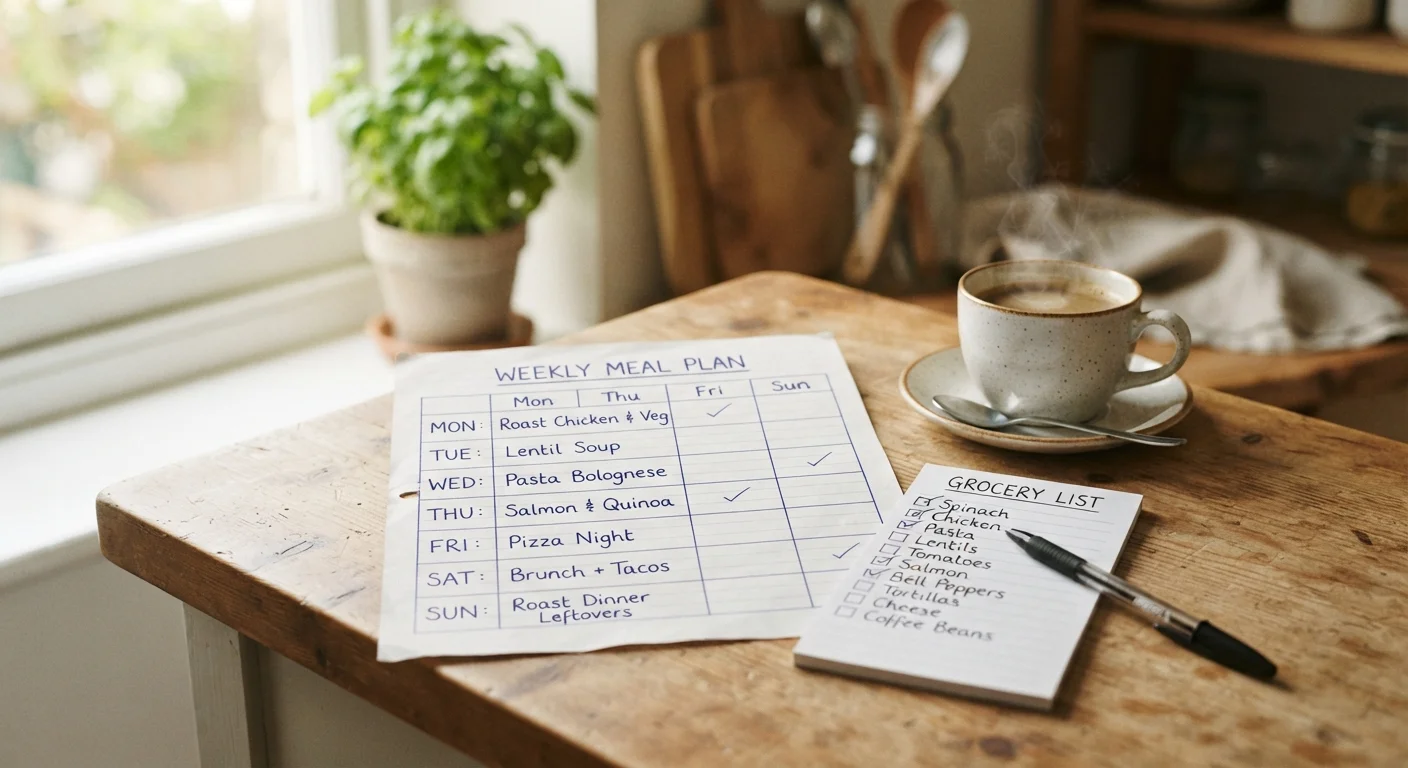
Now the fun part. Open your 7-day meal plan template and start filling in meals using only your master list. Your rule for this step: do not consult a recipe until you've identified the core ingredients from your inventory first.
Work protein-forward for dinners - your proteins are usually the most expensive and most perishable items, so building meals around them first makes the most financial sense. Then assign starches and vegetables to each protein. For breakfasts and lunches, look to your eggs, grains, canned goods, and produce items.
Build in at least one wildcard meal - a flexible stir-fry, grain bowl, or frittata night where you'll use up whatever Priority 1 items haven't been consumed by midweek. This single slot prevents the "I don't know what to do with this" spiral that leads to takeout orders.
Aim to assign 70-80% of your meals from existing inventory. That remaining 20-30% gap is your actual grocery list.
Write Your Grocery List Based on True Gaps Only
With your meal plan drafted, go back through each planned meal and identify only the ingredients you genuinely don't have. These are your true gaps - the items that belong on this week's grocery list.
For each gap item, note the approximate quantity you need for the specific recipe. Avoid the "I'll get extra just in case" impulse here - that impulse is exactly how pantry clutter builds and budgets balloon.
Organize your final list by store section (produce, dairy, meat, dry goods) to minimize in-store browsing time. Browsing time is where impulse purchases live. A section-organized list keeps you moving with purpose.
Before you finalize the list, check the Couponing Basics hub to see if any of your gap items can be purchased with a stacked discount this week. Since every item on your list is a genuine need, any coupon you apply is pure savings.
The 70/30 Rule for Grocery Budgeting
Aim to build 70% of your weekly meals from existing inventory and shop for only the 30% gap. Most households that follow this rule consistently report cutting their grocery spend by $50-$150 per month within the first four weeks. The ratio shifts naturally as your pantry becomes more intentionally stocked over time.
Rotate Your Pantry Like a Pro
When you restock after a shopping trip, place new items at the back and pull older items to the front - this is called FIFO (First In, First Out) and it's the same system professional kitchens use to eliminate spoilage. It takes five extra seconds per item and saves you from the expiry-date scramble during every future audit.
Meal Planning ≠ Rigid Meal Scheduling
A common reason people abandon meal plans is treating them like an immovable calendar. Your plan is a framework, not a contract. If Wednesday's planned salmon dinner gets moved to Friday because of an unexpected late work night, that's fine - what matters is that the salmon gets used before it spoils, not that it was eaten on the day you wrote down. Build flexibility into your mindset from the start.
Don't Shop Hungry - Or Without Your List
Going to the grocery store without your finalized needs-based list - even "just to grab a few things" - is one of the fastest ways to derail your food budget. Studies consistently show that shopping without a list increases spending by 20-40% per trip. Print it, screenshot it, or pull it up on your phone before you walk through the door.
Once you've completed your grocery list using this method, layer in your discount strategy. Run a coupon stacking audit before you check out to make sure every item on your needs-based list is purchased at the lowest possible price. Since you're only buying what you genuinely need, every discount goes straight back into your pocket - not toward impulse buys that cancel out the savings.
You can also explore the Couponing Basics hub to build a repeatable discount system that pairs naturally with your weekly kitchen audit routine.
Handling the Tricky Bits: Odds, Ends, and Expiry Anxiety
Every kitchen audit turns up the same cast of characters: the half-used can of coconut milk, the lone sweet potato, the bag of quinoa you bought in a moment of ambitious nutrition. These "orphan" ingredients are where most people give up and default to a fresh recipe that requires buying ten new things. Don't do it.
Food Waste Is a Budget Problem
Every item you throw away represents money already spent with zero return. Before you decide an ingredient "doesn't fit" this week's meal plan, spend two minutes googling a simple use for it. A slightly wilted bell pepper, a half-can of chickpeas, or a tablespoon of tomato paste can all be incorporated into a meal at essentially zero additional cost. The habit of finding a use for what you have - rather than defaulting to what you want - is the single most powerful skill in budget cooking.
The Orphan Ingredient Protocol
When you hit an ingredient that doesn't seem to fit any meal, try these approaches before writing it off:
- Google the ingredient + "easy recipe" - you'll almost always find a one-pan solution using basic pantry items you already own.
- Add it to a grain bowl or stir-fry wildcard meal - these formats accept almost any vegetable, protein, or starch and cost pennies to assemble.
- Freeze it properly if it's about to turn - most cooked grains, raw proteins, and even certain dairy products freeze well. Label with today's date so future-you knows the timeline.
- Use it as a side rather than a star - that lone sweet potato becomes a roasted side for three dinners instead of the hero of a dish that requires eight other ingredients.
A Note on Expiry Dates
"Best by" and "sell by" dates are often quality indicators, not safety cutoffs. Dry goods like pasta, rice, canned beans, and spices are typically safe well beyond their printed dates as long as they've been stored properly. Use your senses - smell, appearance, and texture - as your primary guide for pantry staples. The USDA's FoodKeeper app is a reliable reference for any item you're uncertain about.
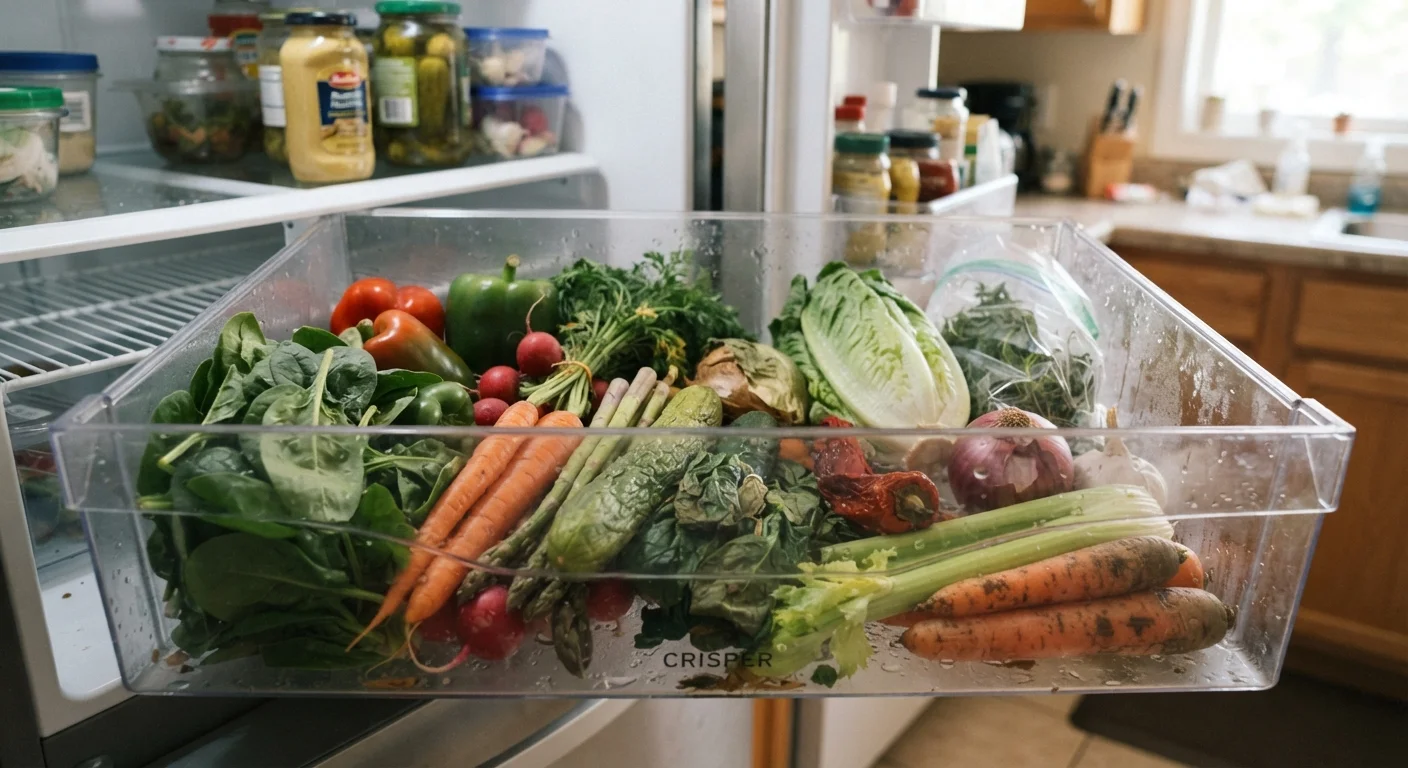
For refrigerated and frozen items, the stakes are higher. When in doubt with raw meat, dairy, or cooked leftovers, err on the side of caution. The goal is to reduce waste - not to eat something that will make you sick.
Turning This Into a Weekly Habit
The first audit will take the full 45 minutes. The second one will take 25. By week four, you'll be doing a quick scan in under 15 minutes because you'll already know your pantry patterns - what you cycle through fast, what tends to linger, what you overbuy out of habit.
The Sunday Reset Rhythm
Most budget households that nail meal planning do their audit on Sunday mornings before writing their grocery list. The exact day doesn't matter - what matters is that the audit always precedes the list. Make that sequence non-negotiable and the savings follow automatically.
Build Your Pantry Inventory Sheet
After your first audit, create a simple running inventory - a notes app list, a whiteboard on the pantry door, or a shared Google Sheet works equally well. Update it as you use items throughout the week. This turns your second audit into a quick verification rather than a full excavation.
This habit also makes you a smarter sale shopper. When you know your pantry baseline, you can recognize a genuinely good deal on olive oil or canned tomatoes and stock up with confidence - rather than buying duplicates of things you already have in abundance. That's exactly the kind of intentional purchasing that separates strategic shoppers from impulse buyers during major sale events.
What Success Looks Like
After one month of consistent kitchen-first meal planning, most households notice three concrete changes: their grocery receipts are shorter, their trash bins have less food waste, and they feel measurably less stressed at 5pm on a weeknight because the answer to "what's for dinner?" was already decided on Sunday. That's the real prize - not just the savings, but the mental clarity that comes with a system that actually works.
If you want to take the savings even further, apply this same audit-first mindset to your utility spending. A room-by-room audit for cutting your water bill uses the same "look before you spend" philosophy - and together, these habits can meaningfully reduce your monthly household overhead.