
Rearranging What You Already Own: The No-Cost Room Refresh
Before spending anything, try these layout and styling techniques that transform how a room feels without adding a single new item.
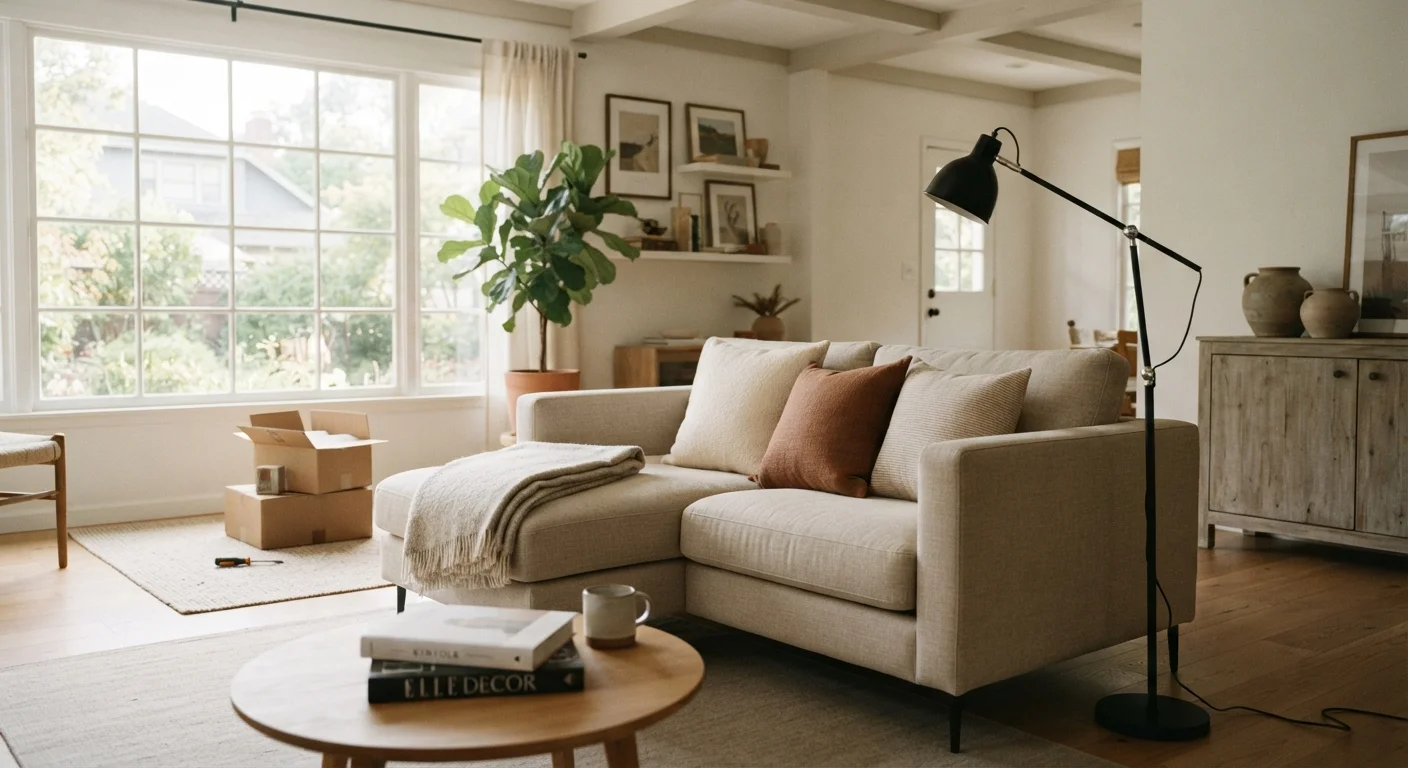
Photo: SaverSteals.com | Explore More. Shop Smarter. editorial
—— In This Article
Key Takeaways
- Rearranging existing furniture and décor can dramatically change a room's feel at zero cost.
- Traffic flow, focal points, and light sources are the three factors that most influence how a space reads.
- Moving accessories between rooms often reveals combinations you've never tried before.
- Clearing visual clutter is one of the fastest ways to make a space feel larger and calmer.
- A floor plan sketch before you start saves time and unnecessary heavy lifting.
Why Rearranging Beats Spending
Most rooms underperform not because they lack furniture or décor, but because the existing pieces are arranged by habit rather than intention. The sofa ends up against the wall because it was easiest to move once; the lamp stays in the corner because nobody questioned it. Rearranging breaks those defaults and forces a fresh look at what you already have.
Interior designers routinely cite layout as the single highest-leverage variable in a room — above paint color, above accessories, and certainly above adding more items. When layout works, furniture creates conversation zones, natural light reaches where it's needed, and the eye travels through the space without snagging. None of that requires spending anything.
If you're eventually planning to invest in new pieces, this process also clarifies exactly what's missing — so you can shop with purpose rather than impulse. See our room-by-room planning checklist for a structured way to prioritize before buying anything.
What you will need
Before You Move a Single Piece
Preparation makes the difference between a productive afternoon and a frustrating one. Take ten minutes to sketch the room's footprint on paper, noting window and door positions, electrical outlets, and any fixed features like radiators or built-in shelving. Measure your largest pieces — knowing the sofa is 88 inches long prevents you from committing to a configuration that physically won't fit.
Photograph the current layout from each doorway. These reference shots are useful in two ways: they remind you what the baseline looked like, and they help you evaluate new arrangements objectively once you've been moving things around for an hour and lost perspective.
Sketch First, Lift Second
Drawing a rough floor plan to scale — even on the back of an envelope — lets you test multiple configurations without moving anything. Mark windows, doors, and fixed outlets, then sketch in furniture outlines to check whether your planned arrangement will physically fit and allow comfortable circulation.
Step-by-Step: Rearranging Your Room
Empty the room as much as possible
Remove all small accessories — cushions, throws, lamps, artwork, books, and any decorative objects — and place them in a hallway or adjacent room. If you can move the furniture out too, do it; if not, push everything to one side. Starting from a near-empty state forces you to make deliberate choices about what re-enters the space rather than defaulting to the existing arrangement.
Identify your focal point
Every well-functioning room orients around one dominant feature: a fireplace, a large window with a view, a television, or even a piece of art. Walk to each doorway and note what your eye lands on first. If nothing reads as a focal point, designate one — the largest wall, the window with the best light — and plan to build the arrangement around it.
Place the largest piece of furniture first
In a living room, this is usually the sofa; in a bedroom, the bed. Position it relative to your focal point rather than against the nearest wall. Floating furniture — pulled slightly away from walls — typically makes a room feel more intentional and can improve conversation flow. Use your sketch and measurements here to test configurations on paper before committing to heavy lifting.
Map traffic flow before adding more pieces
Walk the paths you naturally take through the room — from the door to the sofa, from the sofa to the kitchen, from the bed to the closet. Furniture that interrupts these paths creates constant low-level friction. Adjust your anchor piece if needed before bringing in secondary furniture like chairs, side tables, or storage units.
Reintroduce lighting thoughtfully
Overhead lighting rarely flatters a room on its own. Reposition floor lamps and table lamps so light sources appear at multiple heights and in multiple zones — one near the seating area, one near a reading chair or workspace. Try a lamp from another room before assuming you need a new one; moving an underused bedroom lamp into a dim living room corner is often all it takes.
Reassign accessories across rooms
Gather everything you pulled from the room alongside items you can borrow from other spaces — a vase from the bedroom, a basket from the hallway, artwork that never found a permanent home. Edit ruthlessly: return to the room only pieces that earn their place visually or functionally. Groupings of three objects at varied heights tend to look more deliberate than scattered individual items.
Photograph the result and sit with it
Take the same doorway photographs you took at the start and compare. Live with the new arrangement for at least two or three days before making further changes — first impressions after the effort of rearranging are rarely objective. Small adjustments, like shifting a lamp six inches or swapping a cushion color, often make more difference at this stage than moving furniture again.
Once you've completed the refresh, stand in each doorway and assess how the space reads at first glance. Good layouts have a clear focal point — a fireplace, a large window, a gallery wall — with seating or key furniture oriented toward it. If nothing draws the eye, consider rotating a bookcase to face the room or grouping a cluster of accessories you've pulled from elsewhere in the house.
For inspiration on low-cost styling adjustments that work alongside a new layout, see small décor changes that make a measurable difference.
When Rearranging Reveals Real Gaps
A thorough rearrangement sometimes confirms that a room genuinely needs something new — a rug to anchor a floating seating area, or a side table that doesn't exist anywhere in the house. That's useful information, and it's far more reliable than a shopping impulse. You now know the exact dimensions and function you need.
If budget is a concern, decorating on a tight budget covers how to prioritize purchases and layer in pieces over time rather than buying everything at once. For larger furniture needs, exploring secondhand furniture options can stretch your budget considerably further than retail. And if you do decide to buy new, buying furniture on a budget without compromising quality walks through timing and trade-offs worth understanding first.
In many cases, though, the rearrangement itself resolves the feeling that something was missing — because what was missing was simply a better arrangement of what was already there.

Home & Garden Editorial Team
Home & Garden Editorial Team is the collective byline for our editorial team and contributor network. Articles published under this byline or an editorial pen name are researched, written, and reviewed according to our editorial standards for clarity, consistency, and independence before publication.
View author profile