
What to Check the Moment Your Refurbished Device Arrives
A practical inspection checklist covering screen, ports, battery, software, and warranty activation for any refurbished purchase.
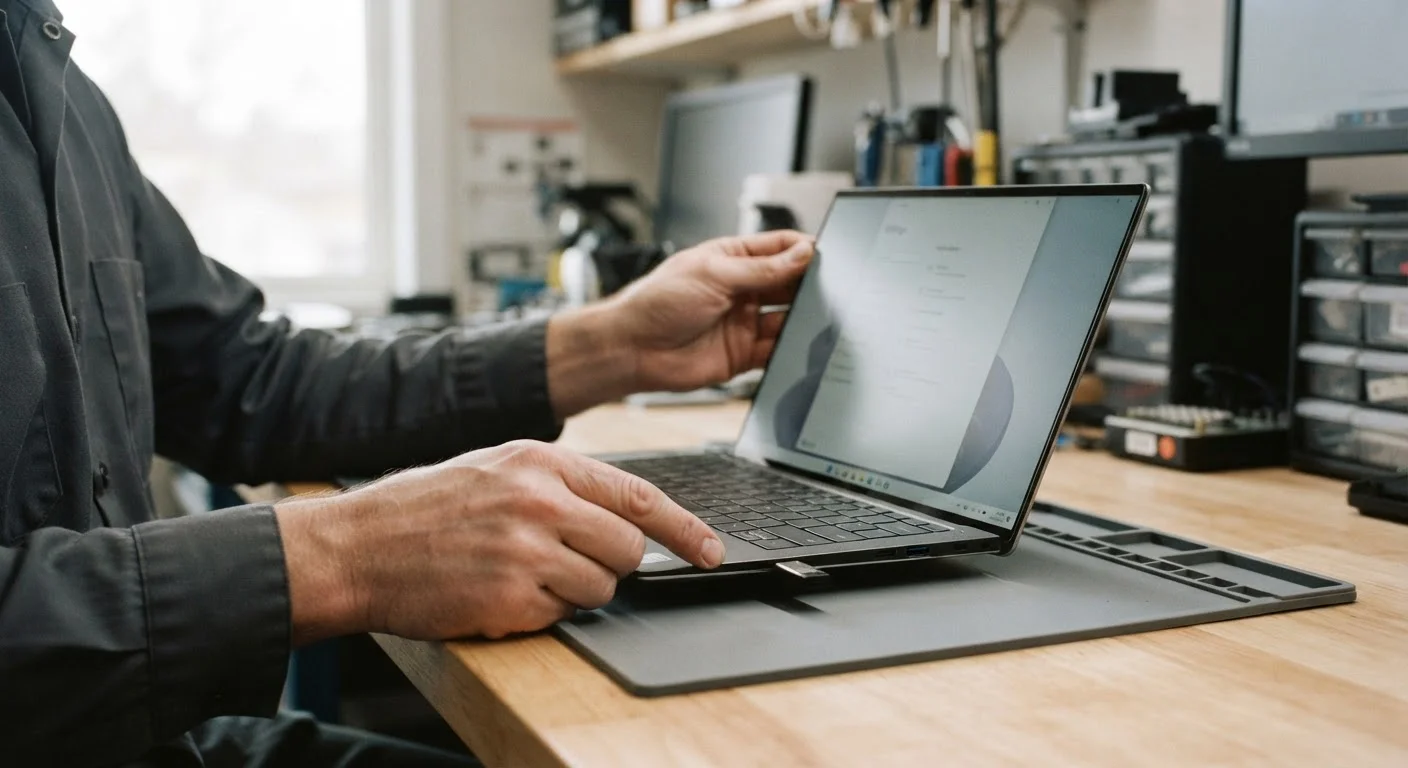
Photo: SaverSteals.com | Explore More. Shop Smarter. editorial
—— In This Article
Key Takeaways
- Inspect the physical condition and packaging before powering on the device.
- Test every port, input, and display function within your return window.
- Verify battery health using built-in diagnostics before accepting the device.
- Confirm the device is fully wiped and not linked to a previous owner's account.
- Activate any included warranty immediately after your inspection is complete.
Why the First 30 Minutes Matter Most
Refurbished devices can represent genuine value - but only when the condition matches what you paid for. The moment your package arrives is your single best opportunity to verify that claim before any return or exchange window begins ticking down.
This checklist walks you through every check worth making: from the shipping box to battery health to warranty registration. If you're new to buying refurbished, our guide for first-time buyers explains grading systems and what to expect before your device ships.
Document Everything Before You Set Up
Photograph all four sides, the screen, and every port before connecting any account. This visual record establishes the device's condition at arrival and is your strongest evidence if you need to initiate a return, dispute a grade misrepresentation, or file a warranty claim. Once the device is set up and in use, some sellers may consider the sale accepted.
Work through the groups below in order. Physical and display checks come first because they're the most visible and easiest to document. Software and account checks come second because they can block setup entirely if missed. Warranty activation comes last - but never skip it.
Tools You'll Need for a Thorough Inspection
You don't need specialist equipment to inspect a refurbished device properly. A handful of everyday items - a spare cable, a paired Bluetooth device, and a camera - cover the majority of tests on this checklist.
Dead Pixel Test App or Website
Displays full-screen solid color panels to help identify dead, stuck, or lit pixels on any display.
USB-A and USB-C Test Cables
Used to physically test each data and charging port for secure connection and data transfer.
Bluetooth Headphones or Speaker
A known working Bluetooth device to confirm the refurbished device's wireless radio pairs correctly.
Built-in Battery Diagnostics
System-level tool (e.g., Battery section in Settings on iOS, or powercfg on Windows) for cycle count and health data.
Camera or Smartphone
Used to photograph the device condition on arrival for documentation and any potential returns or disputes.
For laptop-specific inspection steps including keyboard and hinge testing, see our refurbished laptop walkthrough.
The Full Inspection Checklist
Work through each group systematically. Mark items as you go - this makes it easier to identify exactly which checks revealed problems if you need to contact the seller.
Physical Inspection
Screen and Display
Ports, Inputs, and Connectivity
Battery and Power
Software and Account Status
Warranty and Documentation
Your Return Window Starts on Delivery
Most sellers begin counting your return or exchange period from the date of delivery, not the date you first power on the device. Complete your full inspection on arrival day. Delaying even 24-48 hours can reduce the time available to raise a legitimate claim.
Do Not Set Up Before Checking Account Lock
If a device is still linked to a previous owner's Apple ID, Google account, or MDM profile, setting it up before verifying this can lock you out entirely. Always confirm the device is clean and unlinked before entering your own credentials.
If any item under Software and Account Status raises a flag, stop setup immediately. Do not enter your personal credentials on a device that still carries a previous owner's account lock or MDM profile. Contact the seller before proceeding.
After the Inspection: Protecting Your Investment
Completing this checklist is step one. Once you've verified the device is in the described condition and free of account locks, register your warranty right away. Coverage periods vary - some refurbished warranties begin on the original purchase date, others from your activation date. Knowing the difference matters.
For a full breakdown of what refurbished warranties typically cover and how to assert your rights, see our plain-language warranty guide.
Once registered, review our post-purchase guide for diagnostic habits, software maintenance, and steps that extend the useful life of your device.
This article is for informational purposes only. Warranty terms, return policies, and device specifications vary by seller and product. Always verify coverage details directly with your seller before purchasing.

Electronics Editorial Team
Electronics Editorial Team is the collective byline for our editorial team and contributor network. Articles published under this byline or an editorial pen name are researched, written, and reviewed according to our editorial standards for clarity, consistency, and independence before publication.
View author profile